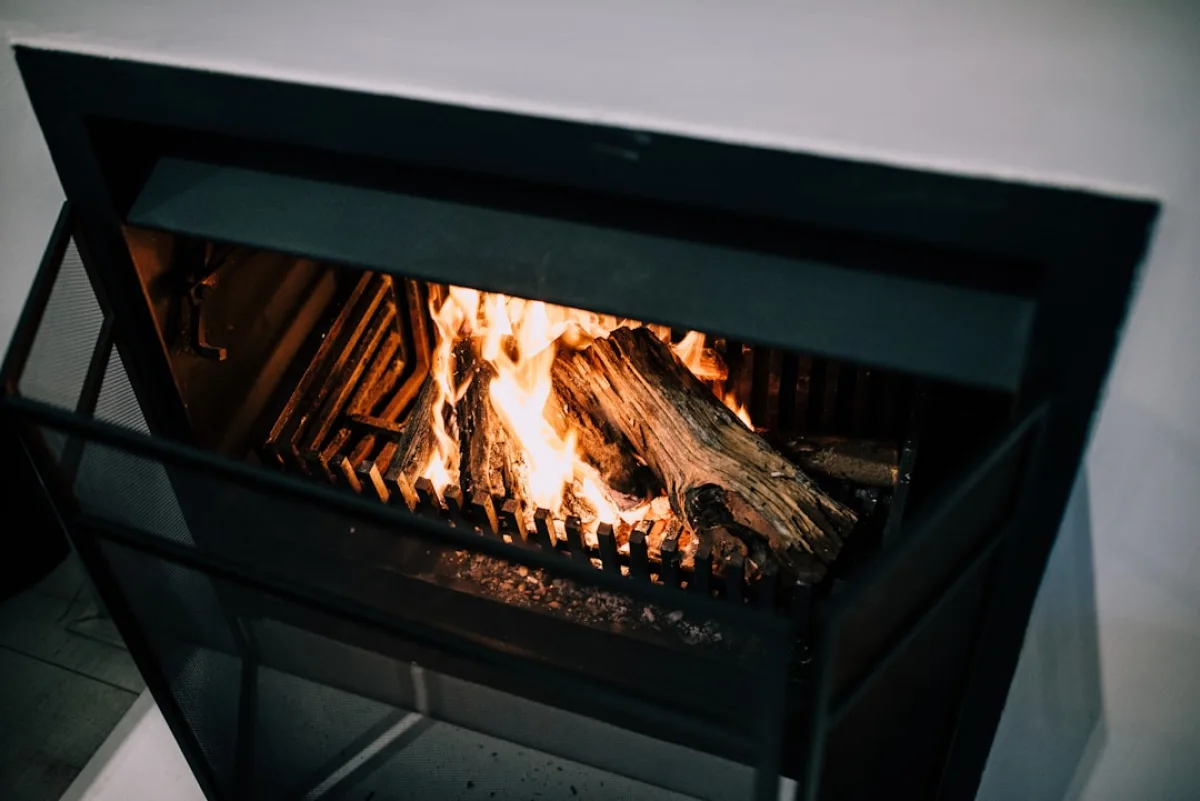
A Step-by-Step Guide to Getting a Wood Burning Stove Installed
Colin Whitmore · 17 Jul 2026
Having a wood burning stove installed is one of the most rewarding home improvements you can make. The warmth, the ambience, and the practical heat output all make it well worth the investment. But if you have never had a stove fitted before, the process can feel a little mysterious. What actually happens between browsing stoves and lighting your first fire?
Below, we walk you through each stage of the journey, from your initial enquiry right through to the paperwork that proves your installation meets UK building regulations.
Step 1: Choosing the Right Stove for Your Home
Before any installation work begins, we help you choose a stove that suits your room size, your fuel preferences, and your local regulations. There is no single stove that works for every home, so this stage matters.
Key things we consider with you include:
- Output rating: A stove that is too powerful for a small room will overheat the space. One that is underpowered will struggle to warm a larger room. We assess the room and recommend an appropriate kilowatt output.
- Fuel type: Some customers prefer a dedicated multi-fuel stove that can burn both wood and solid fuels. Others want a wood-only appliance. We help you weigh up the options.
- Smoke control zones: If your property sits within a smoke control area, only DEFRA-exempt appliances are permitted. We check this for you at the outset so there are no surprises later.
- Style and finish: Your stove will be a focal point in the room, so the look matters too.
Once we have agreed on the right model, we move on to the survey.
Step 2: The Pre-Installation Survey
A survey is an essential part of any professional stove installation. Our team visits your property to assess:
- The condition and dimensions of your existing chimney or flue
- Whether chimney lining is required
- The hearth situation and whether any fireplace or hearth work is needed
- Ventilation requirements under current building regulations
- Any structural considerations that might affect the installation
This is where we establish a clear scope of work and give you an accurate quotation. It also means our installers arrive on the day fully prepared, which keeps the job running smoothly.
Step 3: Chimney and Flue Preparation
A sound flue system is non-negotiable. Without it, your stove will not draw properly and combustion gases could enter your living space. Depending on what we find during the survey, this stage might involve:
Chimney Lining
Most older UK chimneys need lining before a stove can be fitted safely. A flexible stainless steel liner is run down the chimney and connected to the stove outlet. This creates a correctly sized, sealed flue that produces a reliable draw and is far easier to sweep and maintain. You can find out more about this work on our chimney lining and flue page.
Twin-Wall Flue Systems
Where there is no existing chimney, we can install a twin-wall insulated flue system. These are routed either internally through the building or externally up an outside wall. Our team designs the route carefully to meet the required height and clearance standards.
Chimney Sweeping
If your chimney has not been swept recently, we carry out or arrange a sweep before lining. Installing a liner into a sooty or debris-filled chimney is not something we would ever do.
Step 4: Hearth and Fireplace Fitting
Your stove must sit on a non-combustible hearth that meets the minimum dimensions set out in UK building regulations. If you do not already have a suitable hearth in place, our team can fit one as part of the installation.
We also carry out any fireplace opening work that is needed, whether that means opening up a previously sealed fireplace, reducing an oversized opening, or fitting a decorative surround. Take a look at our fireplace and hearth fitting service for more detail on this side of the work.
Step 5: Fitting the Stove
With the flue prepared and the hearth in place, our installers fit the stove itself. This involves:
- Positioning the stove on the hearth and checking clearances to combustible materials on all sides
- Connecting the stove outlet to the flue liner or twin-wall system using the correct flue pipe and fittings
- Sealing the connection at the register plate or closure plate to prevent any bypass of combustion gases
- Checking all joints and connections are secure
Our team works tidily and takes care of your home throughout. We protect floors and furnishings and clear away all waste before we leave.
Step 6: Commissioning and Testing
Before we call the job done, we commission the stove. This means lighting a small initial fire to check the draw, test the controls, and make sure everything is performing as it should. We check for any smoke spillage and confirm the flue is drawing correctly.
We also carry out a flue flow test where required to satisfy building regulations.
Step 7: HETAS Certification
All of our stove installations are carried out by HETAS-registered engineers. HETAS is the official body that governs the installation of solid fuel heating appliances in the UK, and registration with them is the mark of a qualified, assessed installer.
Once your installation is complete, we issue a HETAS certificate of compliance. This document is important because it:
- Confirms the installation meets current UK building regulations
- Notifies your local authority on your behalf, so you do not need to apply for building regulations approval separately
- Is required if you ever sell your property
- May be requested by your home insurer
You can read more about what HETAS registration means and why it matters on our HETAS certification page.
Step 8: Handover and Aftercare Advice
Before we leave, we walk you through operating your new stove. We cover:
- How to light and control the fire correctly
- The importance of seasoned or kiln-dried wood and why moisture content matters
- How to use the air controls to manage burn rate and efficiency
- How often the stove and chimney should be swept and serviced
We recommend having your stove and flue swept and serviced at least once a year, or more frequently if you use it heavily through the winter months. Our stove servicing and sweeping service keeps everything in safe working order season after season.
Ready to Get Started?
If you are thinking about having a wood burning stove installed, we are ready to help. Our team covers homes and businesses across the UK, and we handle every part of the process from survey and supply through to installation and certification.
Check our locations page to confirm we cover your area, or explore our full range of stove supply and installation services to see what is included.
Related advice
Stove Output, Fuel and Compliance: A Practical Guide for Business Owners
From calculating the right heat output for your commercial space to understanding HETAS regulations and clean air zone rules, here is what every business owner needs to know before installing a wood burning stove.
24 Sep 2026
Read More
How to Create a Cosy Atmosphere in Your Commercial Space with a Wood Burning Stove
A well-chosen and correctly installed wood burning stove does far more than heat a commercial space. It shapes how guests feel the moment they walk through the door. Here is how to get it right.
23 Sep 2026
Read More
Firewood for Hospitality Venues: Fuel Quality, Storage and Keeping Supply Consistent
Running a pub, restaurant or hotel with a wood burning stove means thinking carefully about fuel. Here is our practical guide to choosing the right firewood, storing it properly and keeping your supply reliable all year round.
20 Sep 2026
Read More